Whether your business is a software company, a design firm, or a co-working space, you have probably been tasked with managing visitors. What do you do when you want to give a visitor the ability to schedule a meeting space without giving them access to your entire calendar? With the Room Sign App, you can give restricted scheduling access to specific spaces that you can revoke at any time.
Shareable Scheduling Links with other Scheduling Software (Calendly or TidyCal)
If you have used software like Calendly or TidyCal, you are probably familiar with their ability to create a link that allows other people book an appointment or meeting on your individual calendar. Their links can be shared via email or embedded in your website, and they can be a great way to manage your time in a controlled way.
If you already use those solutions, we have great news. If you connect the Room Sign App to the same calendars you use with Calendly or TidyCal (or any other scheduling software that creates events) the Room Sign App will automatically and seamlessly sync any new events onto the signs. By connecting the Room Sign App with the same calendar as your Calendly or TidyCal, you essentially create an easy-to-use, efficient room booking solution that you can embed into your own internal website or share by email.
Guest Scheduling with the Room Sign App Links
If you don’t already use booking software like Calendly or TidyCal, there is no need to rush out and sign up for those services (still, we think they are pretty great for client meetings).
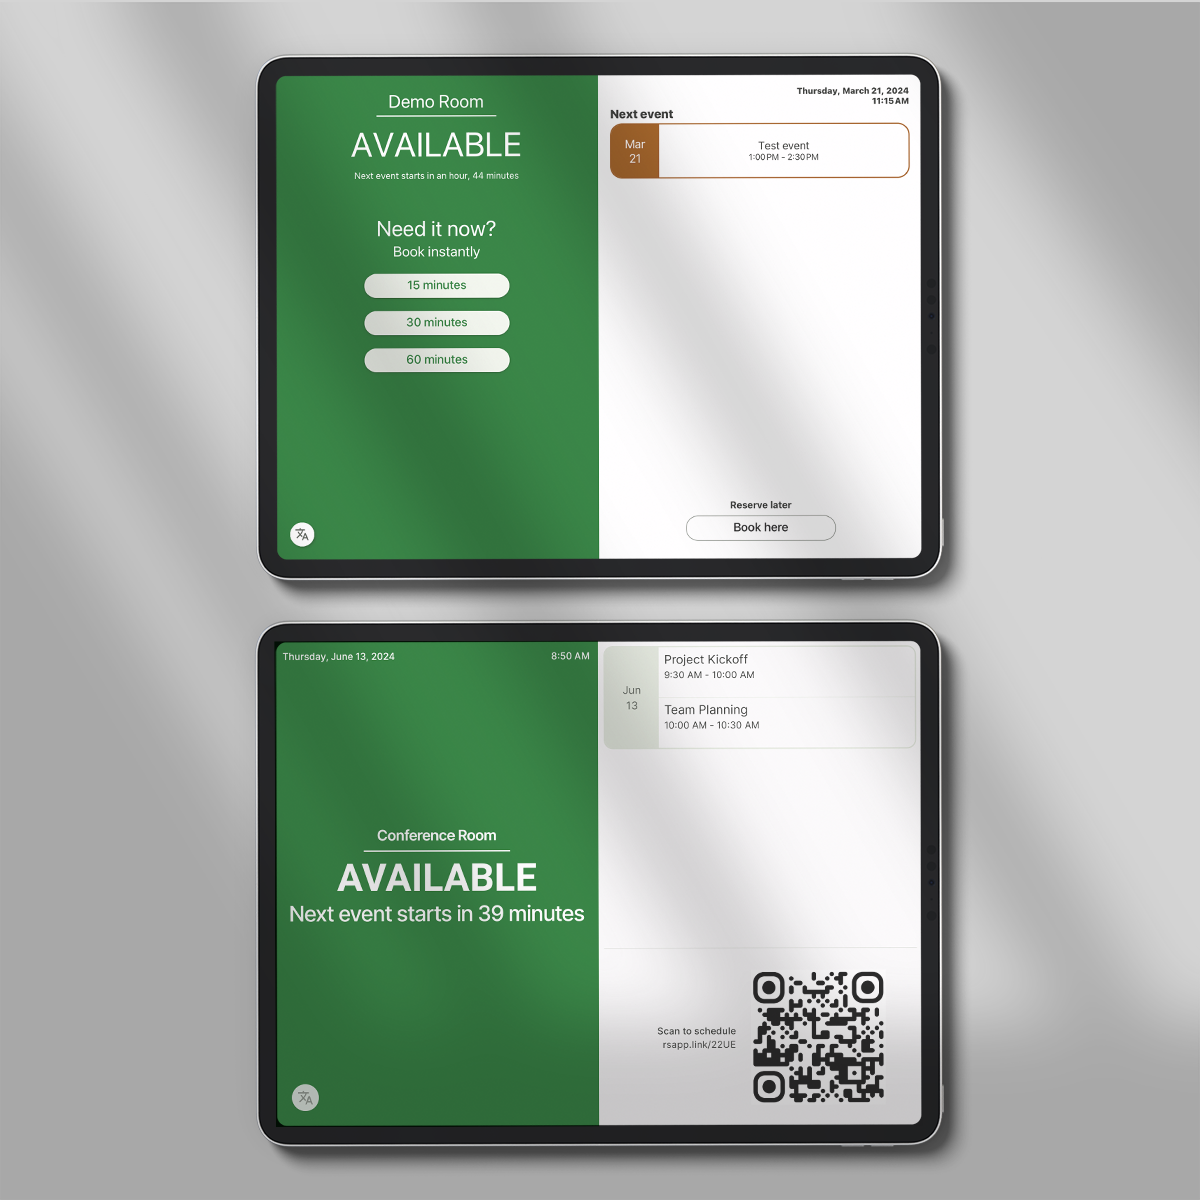
You can use the Room Sign App’s built in Shareable Scheduling Links to quickly give scheduling access to employees and guests. We also generate QR codes that you can print or display on your website to allow guests or employees to quickly scan and schedule an event.
Creating Shareable Links and QR Codes in the Room Sign App
It’s easy to create your first shareable scheduling link, but before you get started, you’ll want to know the answers to a few questions:
- Who is the link for? (employees, members of your organization, contractors, guests, etc)
- Do you want to manually confirm each user or do you want anyone with the link to be able to schedule events?
- Do you want to give access to multiple spaces/calendars on a single link or just one?
The great part about shareable links in the Room Sign App is that you can create as many as you need. Let’s look at a common scenario and see how we can create a Room Sign App shareable link that fit the needs of an organization.
Links for Employees, Coworkers, and Organization Members
If your office or campus has several meeting places, and you want to create a simple way for your employees to quickly book a meeting from their phone or desk, here are the options to make that happen.
Share the Room Calendar
If you use Google Workspace or Google Calendar, you can adjust the permissions of each calendar/resource to allow your employees to schedule events. In larger offices with IT professionals who are adept with Google Workspace Resources, this can work really well.
There are a few tradeoffs to this approach, but they are fairly minor:
- All of your employees will need a Google Workspace account (there are some ways around this, but we don’t recommend them)
- Employees will need to understand how to schedule a meeting using the Google Calendar interface (we don’t think this is too difficult in most cases)
Create a Multi-Space Shareable Link in the Room Sign App
If you don’t use Google Workspace/Google Calendar, or if your employees/coworkers/members are not all part of the same Workspace account (or for any other reason), you can create a very simple shareable scheduling link for all of your connected spaces right from the Room Sign App.
Here are the steps to creating a “no approval required” scheduling link for multiple spaces (we are assuming you already have some spaces set up in the app):
- Login to your Room Sign App dashboard, and access the “Manage Links” button on the main menu.
- Click “Create New Link”
- Give the link a name so that you can easily remember what it is for. Maybe something like “All Rooms – Employee Scheduling Link”
- Choose the calendars that your people should have scheduling access to (one, some, all – your choice)
- Choose whether you want to manually approve each user before they gain access (in this case, we’ll uncheck that box, because we are only sharing this link internally)
- Click “Submit”
You will be taken to a page that shows you the shareable short-link. You can copy/paste this into your company’s internal docs, share via email, or even print out a QR code that your people can scan to access the schedule.
But wait, there’s more!
When a user clicks on or scans a shareable scheduling link, they are initially asked to “register” for access. The user will enter their name, email, and agree to the scheduling terms of service (allowing the Room Sign App to send them the scheduling link, and allowing you to see who has access to your spaces).
When the user confirms their email address, two things happen:
- The user shows up under that link’s “User” list
- The user receives a link that lets them see the schedule for all of the link’s spaces.
The great part about this is that the user will immediately have access to start scheduling their own events, but will not have the ability to make changes to the events belonging to other people.
The other great feature is that you have the ability to remove that users access by simply deleting them from the user list on the link page.
Ready to get started?
Simplify your guest/employee/coworker/member scheduling today. We integrate with Google Workspace and Google Calendar, but the Room Sign App can also work without any integrations at all.
Click the link below to start a free 30-day trial of Room Sign App (no credit card required).