
How to Prevent Users from accessing Other Applications on Your iPad or iPhone Using Guided Access
You might have an iPad or an iPhone that you want to use as a Room Sign, but you don’t want your users to accidentally (or purposefully) exit the Room Sign App. There are a lot of names for locking down a device so that only one app can be used:
- App lockdown
- Single-app mode
- Restricted mode
- Application control
- Device restriction
- Secure app mode
- Lockdown mode
- Dedicated app mode
- Limited access mode
- Single-purpose mode
- Kiosk mode
- …and more
We typically refer to locking down a device as a “kiosk mode”.
If you want to turn your iPad into a kiosk-style display for your Room Sign App, iOS has a simple feature that can make this easy: Guided Access.
Guided Access is a handy feature that lets you lock your iPad or iPhone into a single app, perfect for creating that seamless kiosk experience. Here’s how to set it up:
Step 1: Open Settings
Unlock your iPad or iPhone and head over to the Settings app.
Step 2: Find Accessibility
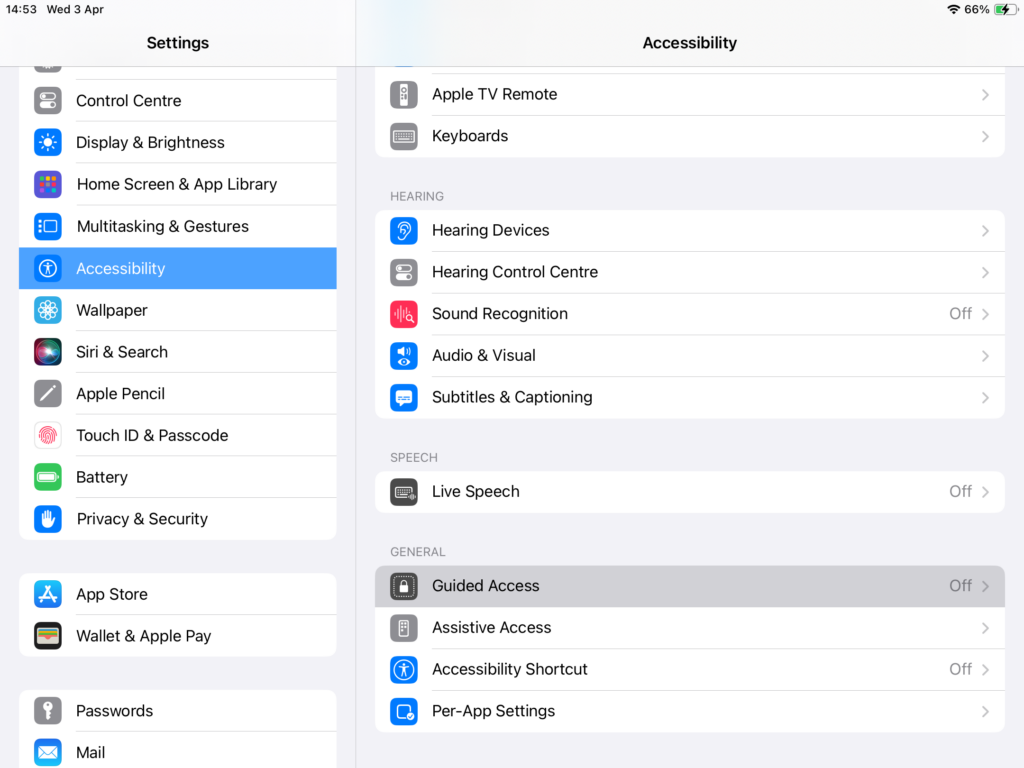
In Settings, scroll down until you find “Accessibility.”
Step 3: Enter Guided Access
Tap on “Guided Access” within the Accessibility menu.
Step 4: Turn on Guided Access
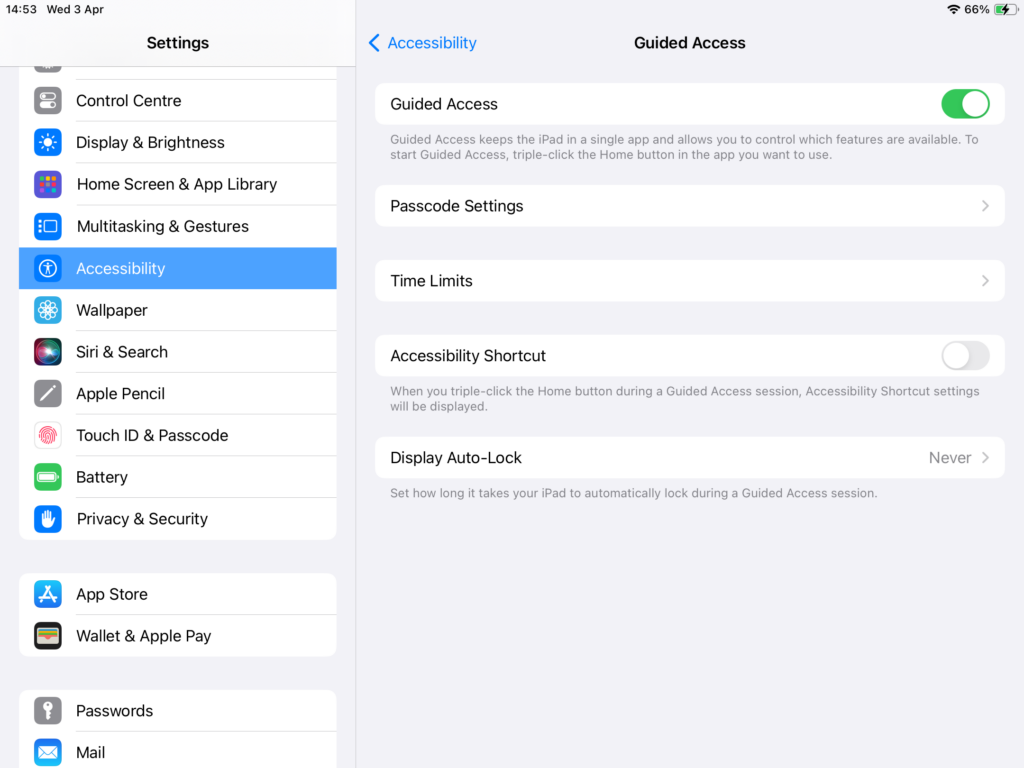
Toggle the switch at the top of the Guided Access settings to turn it on. Don’t forget to set up a passcode that’ll let you exit Guided Access later.
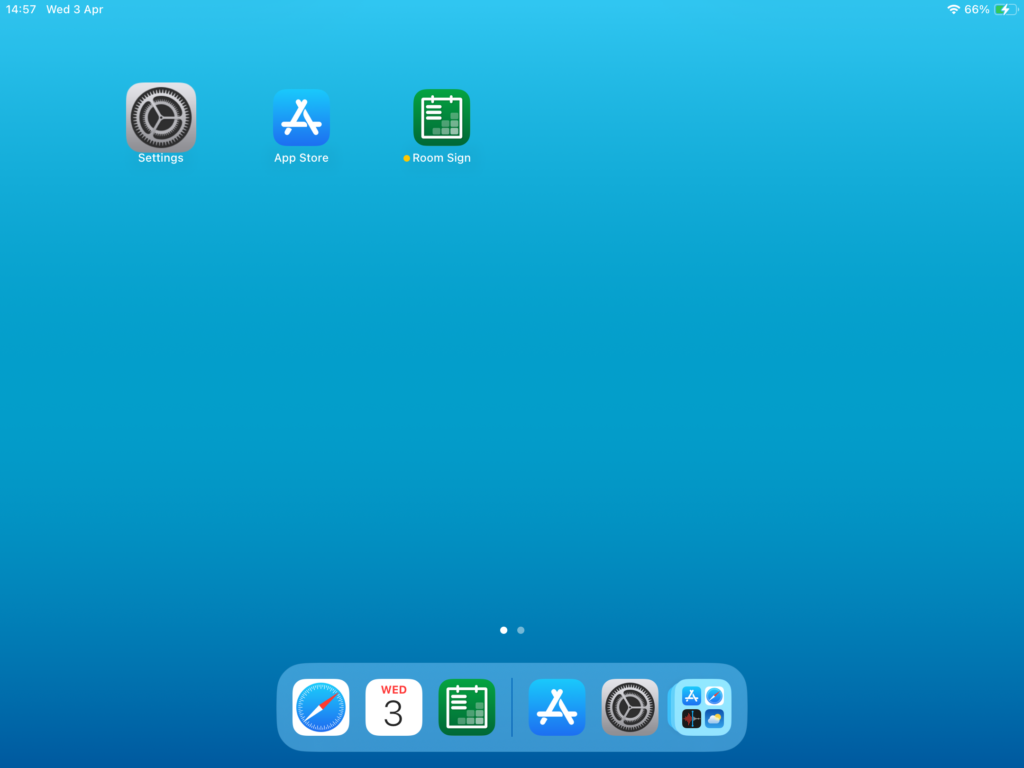
Step 5: Start Your Room Sign App
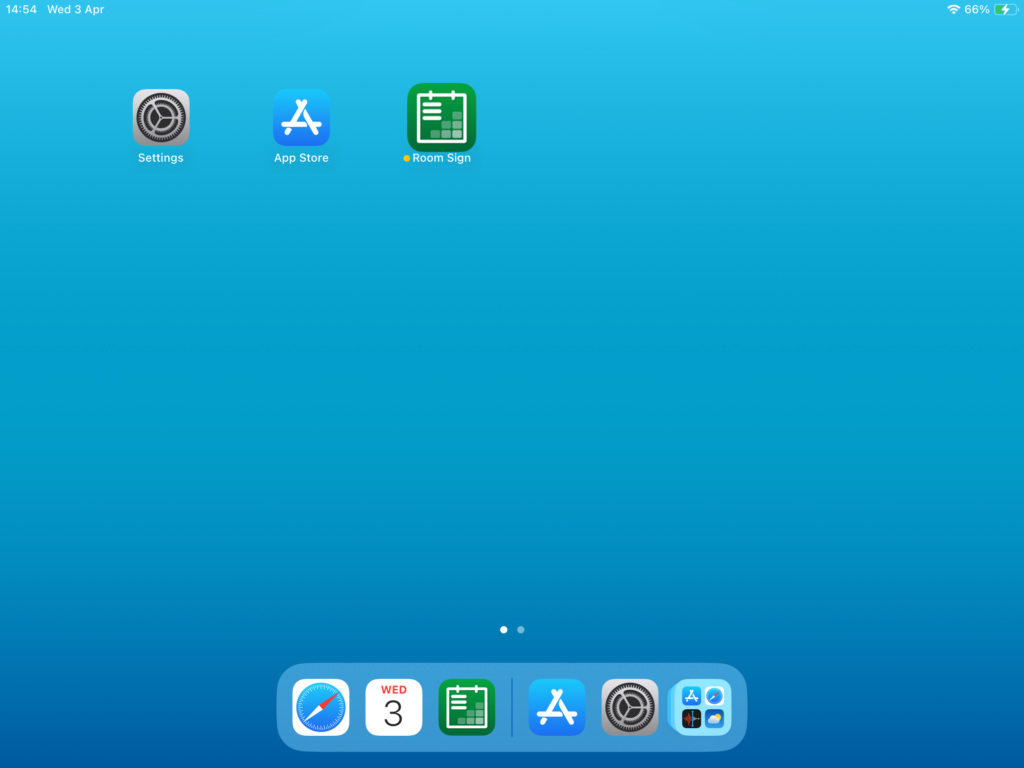
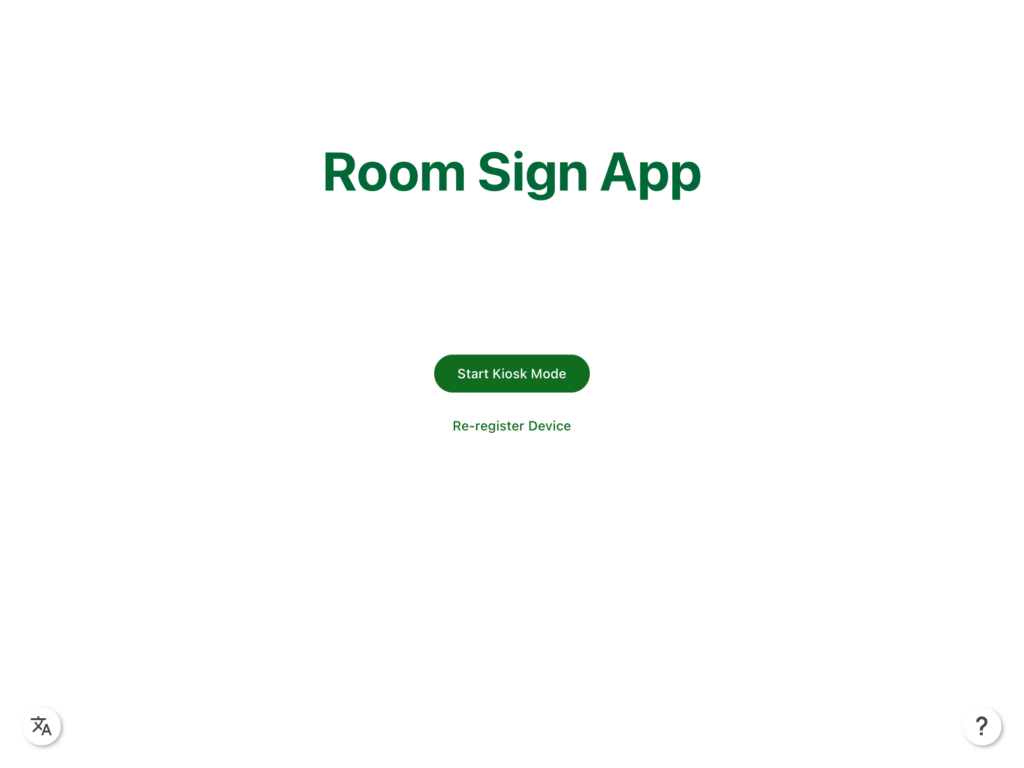
Exit Settings and open up Room Sign App.
Step 6: Activate Guided Access

Triple-click the Home button (or the Side button, depending on your iPad/iPhone model) to activate Guided Access.
Step 7: Customize Guided Access (Optional)
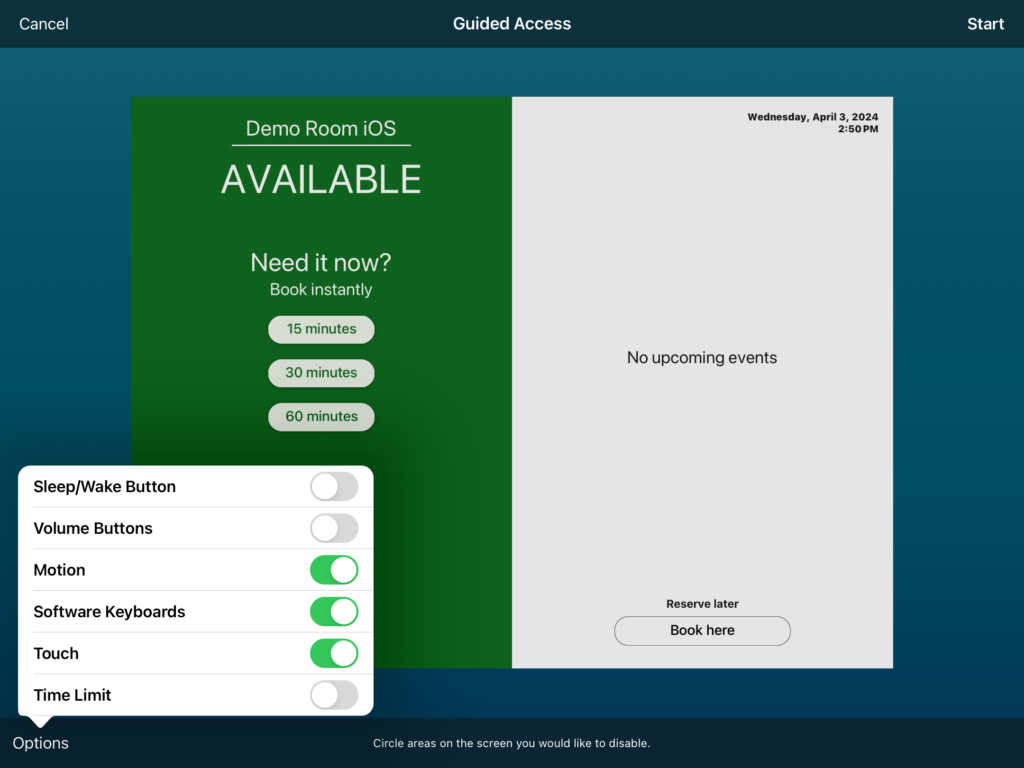
Customize Guided Access to fit your needs. You can disable touch interactions or certain areas of the screen by drawing around them with your finger. For most Room Sign App users, this step can be skipped, and the default settings will work just fine.
Step 8: Start Guided Access
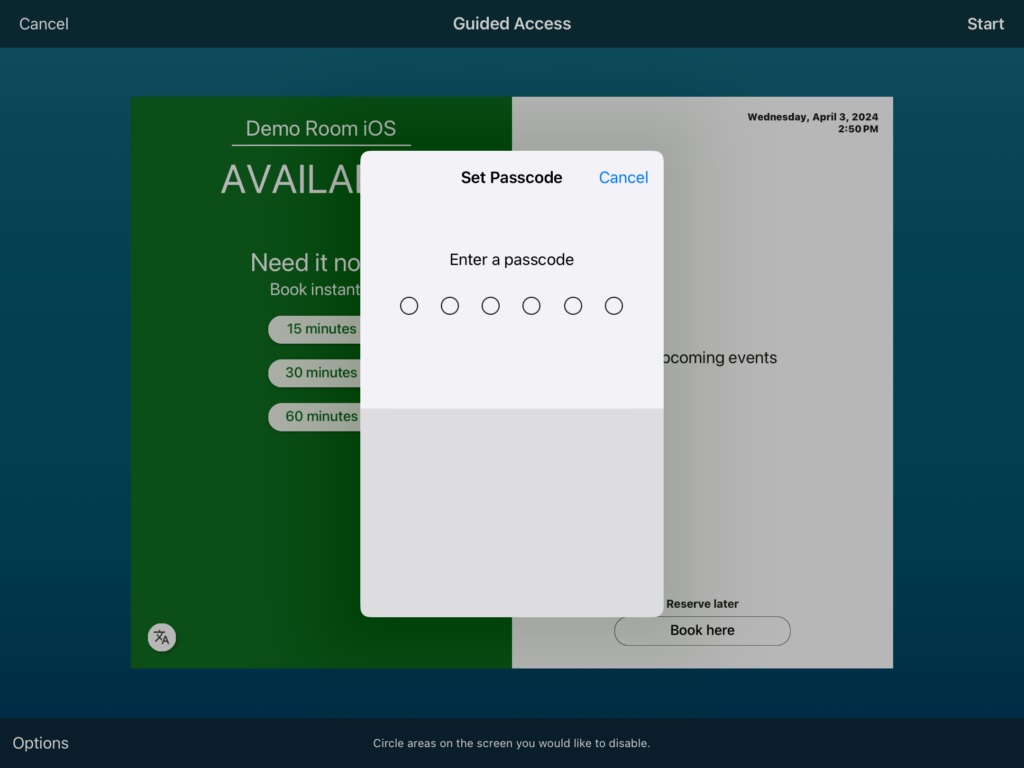
When you’re ready, tap on “Start” in the top right corner. You may be asked to set a passcode. Be sure to save this passcode somewhere safe so that you can exit “Guided Access” in the future.
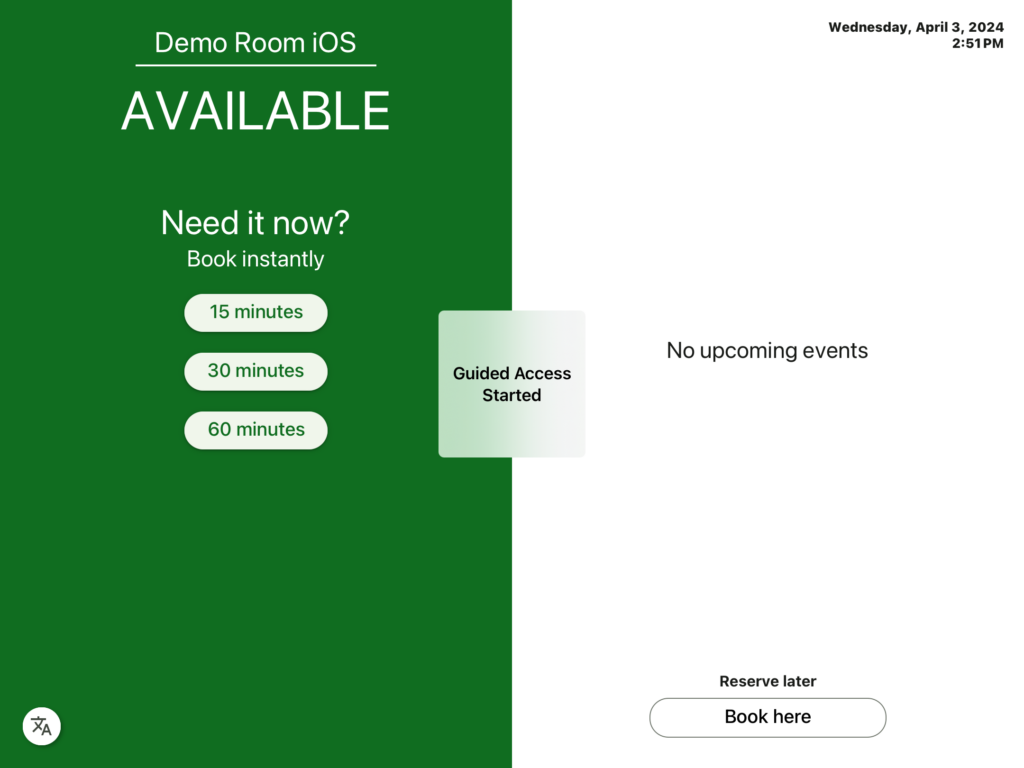
Step 9: Exiting Guided Access
To exit Guided Access and regain control of your iPad or iPhone, triple-click the Home (or Side) button again and enter your passcode.
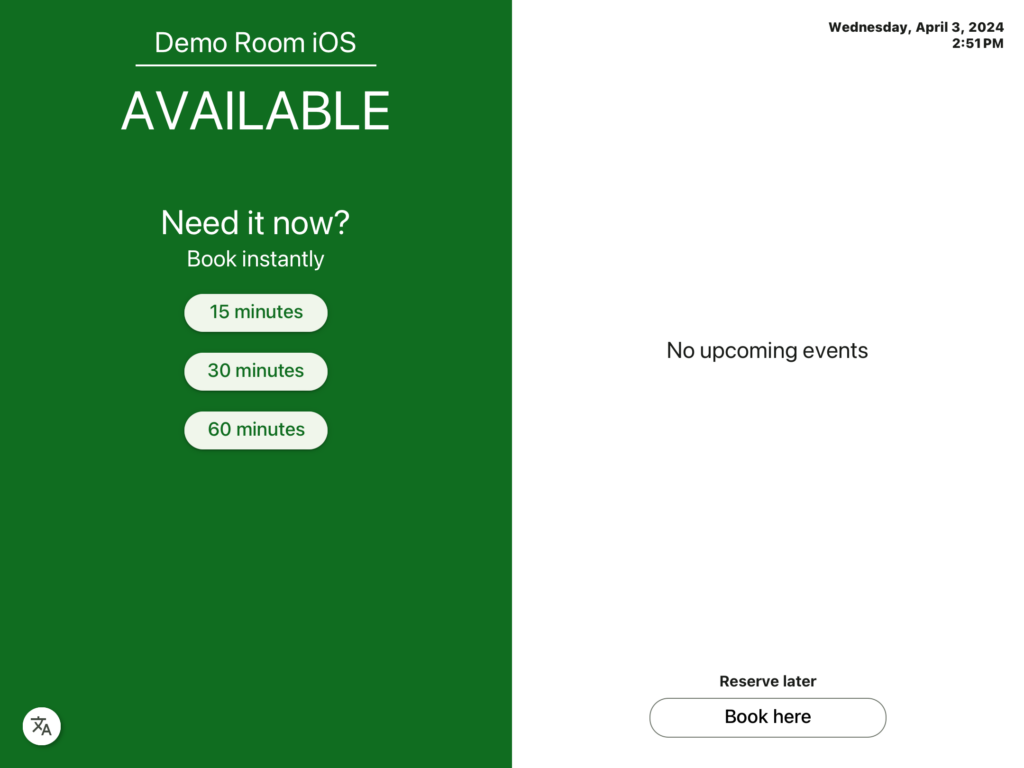
And that’s it! With Guided Access, you can effortlessly turn your iPad into a kiosk-style display for your Room Sign App. Enjoy the simplicity and focus it brings!
Simplify Availability Scheduling
Easily manage and display availability for rooms and resources. Stop worrying about conflicting bookings.